|
|
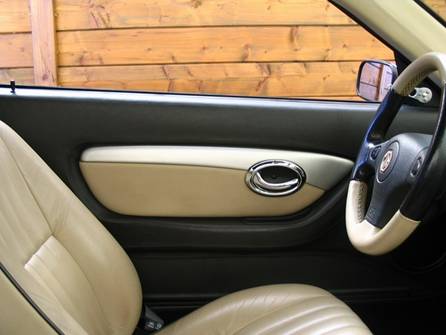
Interior door handle –
R75 chrome upgrade project Words and pictures: |

In this section, you
can read all about
You can,
alternatively, download these instructions as a PDF file here. Hope this helps!
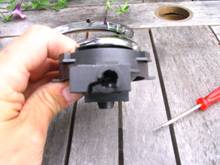
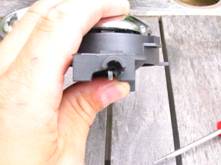
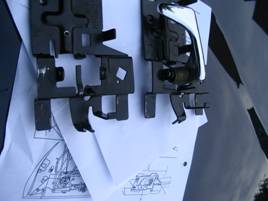
1.) Original R75 Door handle. The hinge that moves the cable is
actually on the handle. Not so on the O.E.M.
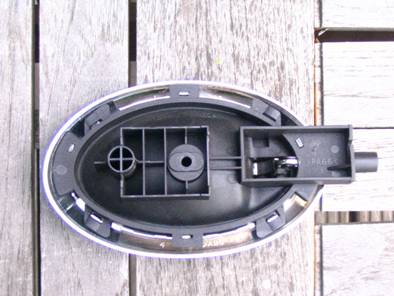
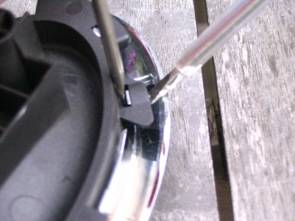
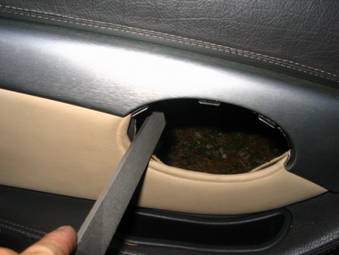
2.) You will need to prise off the chrome cover from the black base element.
Careful, as this is easily broken. However, this is not too much of a problem;
you can use some stick-on material later to put the chrome ring back in place.
The black base is fixed to the door
shell. Over this fits the door panel and door cards. Then one fits the chrome
surround. If this is “clipped” in place, how on earth do you remove it? Undo
the whole thing! You’ll get the picture later on.
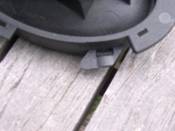
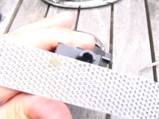
3.) Trim all excess material around the slots in the black base that
fit the chrome pins. And get yourself a beer to make up for the evaporated
sweat ![]()
![]()
4.) Trim all slots like this
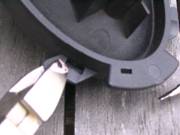
5.) Re-trim the hole through which the pull cable passes. File off.
![]()
![]()
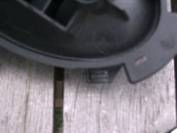
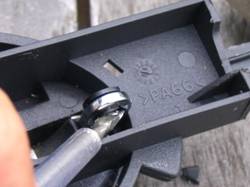
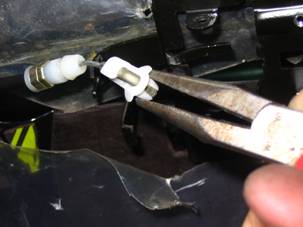
6.) Prise out the plastic circlips that held
the old cable.
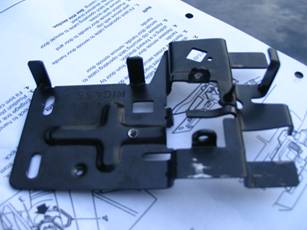
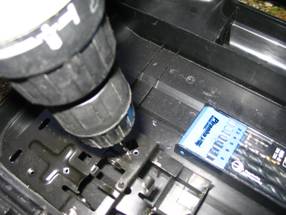
7.) a.
b. Fix the OEM back plate on a
table, or on a piece of card board... Mount the
c. Once positioned, mark with
a centre pin through the mounting hole on the bracket, the new fixing hole for
the R75 handle. Drill the new mounting hole (2)
d. bend the arm
where the
2 1![]()
![]()
![]()
![]()
![]()
![]()
![]()
![]()
3
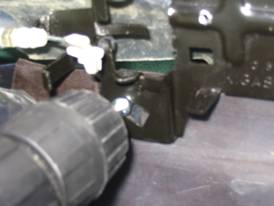
8.) Loosen the screw of the OEM
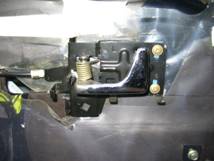
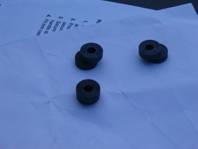
9.) Obtain some of these rubber grommets (fawcet grommets)
10.) Drill an additional hole right here (1), fixing the screw (2). Why? Well,
the black part of the R75 handle is fixed on the base plate and sits behind the
door panel. Remember? So we need to force this plate flush against the door
panel/card. By fixing the door panel back in place, this doesn’t happen
naturally. The panel is too flexible and card board like (read “cheap”). So in
this hole, we will put a screw which when fully screwed in, will push against
the door shell, as a reaction, the bracket and black R75 base plate will be
forced outwards, against the door card/panel. So the chrome surround will fit
easier
2 1


![]()
11.) Trial and error unfortunately ;-( : I
fitted two washers
![]()
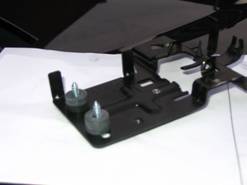
12.) The
![]()
13.) Mount the handle*. (Note the trimmed R75 slots
– I forgot one though)
![]()
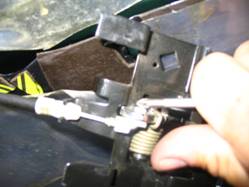
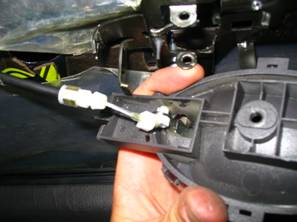
 Second picture demonstrates the cable
arrangement is within the R75 handle, and why we needed to bend the bracket.
The R75 cable is guided through there. Never mind the rotten plastic sheeting
on the door. I had ordered a new set of plastic door covers and hell, I left
them in my other car. Couldn’t be bothered, so continued.
Second picture demonstrates the cable
arrangement is within the R75 handle, and why we needed to bend the bracket.
The R75 cable is guided through there. Never mind the rotten plastic sheeting
on the door. I had ordered a new set of plastic door covers and hell, I left
them in my other car. Couldn’t be bothered, so continued.

![]()
![]()
![]()
![]()
 14.) If you remove the doorpanel. Do not take the door card separately from
the door panel. Let it in one whole assy. Easy for trial fitments. Easy on/off. You might need to trim down the cardboard (1) from
the door panel. And possibly(?) the metal flanges (2).
14.) If you remove the doorpanel. Do not take the door card separately from
the door panel. Let it in one whole assy. Easy for trial fitments. Easy on/off. You might need to trim down the cardboard (1) from
the door panel. And possibly(?) the metal flanges (2).
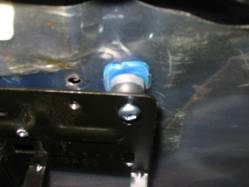
* I believe I also used rubber grommets over the screw that holds
the base of the R75 handle as well. Again, to bring the base forward and
sit flush with the door card. I’m not sure I did though... 2 1
![]()
![]()
![]()
![]()
![]()
![]()
![]()
![]()
15.) I didn’t take pictures of the placement of the
chrome surround. I used thick double sided sticky tape. And it still holds. By
now, you will notice, that when you do decide to click the chrome surrounds in
the black base slots, if you need to take of the door panel, you need to take
the black base of the handle with it. This means that the cable is still
attached to the door in its guides but also to the door pull/lever. In this
situation, I wouldn’t want to try and undo the chrome ring. So it’s up to you how
to do it.
.
Now this is not a perfect fit - as you might have found out by
now. It all depends on how precisely you are working. And even then, there will
be some gaps here and there.
Upon doing the write-up, I noticed I didn’t have a picture of the screw
used to bring the black R75 base forward.
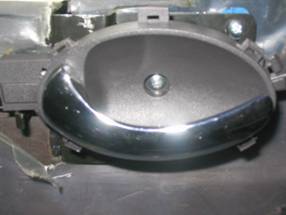
You might end up with something looking like this though (looks stunning and well worth all the effort
– Ed):