![]()
Disassembly: words and pictures by Tim Woolcott.
Reassembly: words and pictures by Rob Bell
|
Head lamp replacement
Disassembly: words and pictures by Tim Woolcott. |
Introduction
Headlamps may need to be replaced for a variety of reasons, from accident damage, to replacing lamps whose inner dipped beam diffuser lens has yellowed. These instructions can also be used where headlamps are to be disassembled for painting (a la Trophy 160) or for sending the reflectors away for re-silvering (these instructions can be found here).
These instructions are also useful for those contemplating removing the front
bumper on an MGF, or indeed planning to replace the front grilles
![]()
Parts required:
|
Tools required:
|
Time:
|
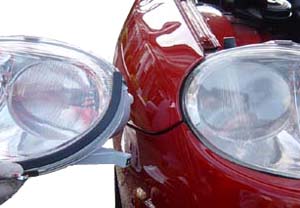 Picture opposite shows (although not too
clearly) the difference between good, new and old, 'milky' lenses on the left and right of
the picture respectively. Picture opposite shows (although not too
clearly) the difference between good, new and old, 'milky' lenses on the left and right of
the picture respectively.Read more about milky/misty MGF head lamps here. |
||
| Removal | ||
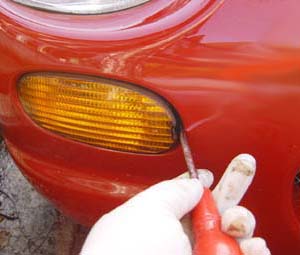
| 1 | Remove indicators with flat screwdriver to carefully prise open the catch that retains the indicator lens in position. You can use a cloth to protect the bumper paintwork if necessary. |
 |
| 2 | Unbolt two 10mm bolt on top of each headlamp. |
 |
| 3 | Remove 5 Philips head screws along the leading edge of the bumper under the bonnet (two of these screws are shown arrowed, opposite). |
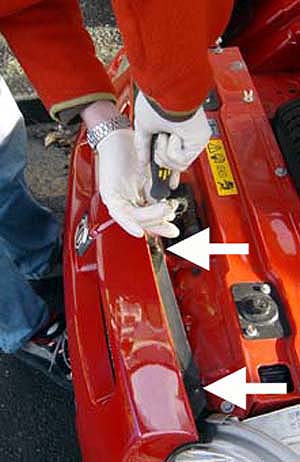 |
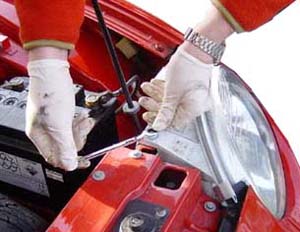
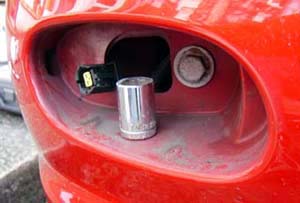
| 4 | Remove large bolts inside the indicator recesses 17mm socket with extension piece. (opposite). |
 |
| 5 | Remove two screws holding bumper to wheel arch protecting cover... |
 |
| 6 | ... and then peel back the black plastic inner liner to reveal two screws located behind the bumper. |
 |
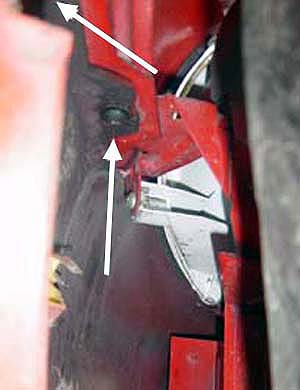
| 7 | Completely remove the screw nearest the
wheel (out of shot, but arrowed) and loosen the screw pictured deeper inside the bumper
(vertical arrow, opposite). Repeat steps 6 & 7 for the other side. |
 |
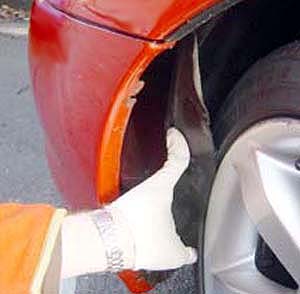
| 8 | The bumper can now be removed. | |
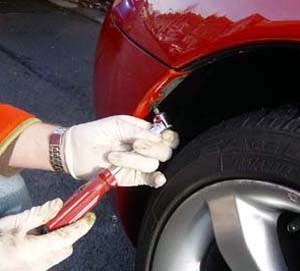
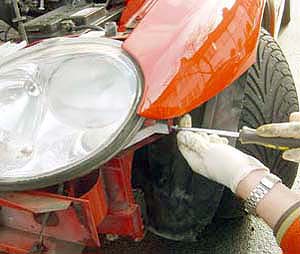
| 9 | Undo Philips screw on side of headlamp
assembly (opposite).
|
 |
| 10 | Release the wires on the back of the headlamp by pressing down on the plastic release on the connector. | |
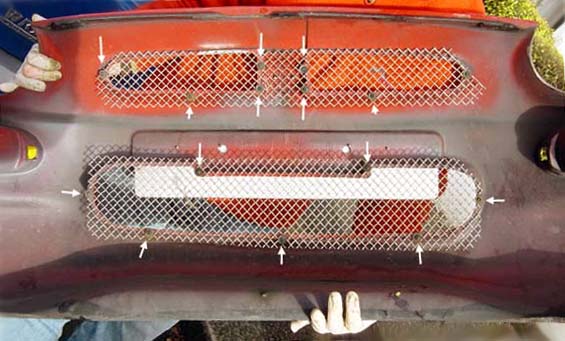
I've also included a picture showing the inside of the bumper grills for those wanting to change the standard black grilles for Trophy or Abingdon-style stainless steel items. The multiple locating self-tapping screws are arrowed, opposite. |
||
| Re-fitting | ||
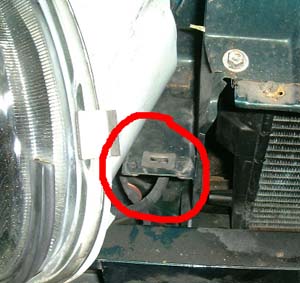
| 1 | Re-fitting of the head lamps to the car is effectively the reverse of the disassembly instructions. However, there are a couple of areas to highlight. First is illustrated opposite, right. When replacing the headlamp bowl, note the location of the rectangular locator hole on the front cross member - this is circled on the image, right. |
 |
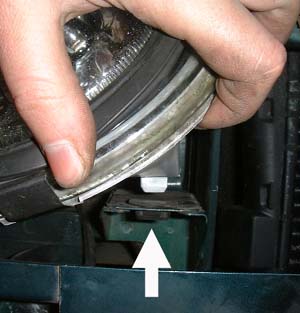
| 2 | This corresponds with a locator lug on the base of the headlamp assembly. Ensure that it slips in to the hole, or else the headlamp will not sit correctly when the whole bumper assembly is replaced. |
 |
| 3 | When the bumper has been replaced onto the car, all that remains is to check the headlamp arrangement - a garage door or wall is ideal for this process - as indeed are dark ambient light conditions! | 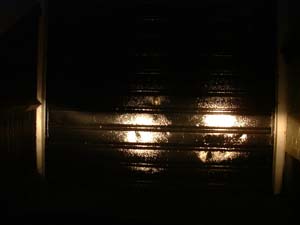 |