![]() Oil
Cooler Installation (air/oil cooler)
Oil
Cooler Installation (air/oil cooler)
|
Words and Pictures: Eduardo Miro |
Oil coolers are not fitted as standard to any model of MGF,
and only to certain versions of the MG TF (the 160 model sports a neat water/oil heat exchanger
mounted under the inlet plenum). Clearly, MG didn't feel it strictly necessary
to fit a cooler to most models, although their fitment is common practice on
cars that reach the race track. However, if your road car is used frequently for
track days or competition, or even if, like Eduardo, you are fortunate enough to
live in a warm climate, then an oil cooler is a good idea. In Eduardo's case, he
was getting very excessive oil temperatures, even while driving on the highways
in Panama, so he endeavoured to install an oil cooler - and his instructions are
found below.
One interesting adaption Eduardo has made to his oil cooler installation is to mount the cooler behind the radiator rather than in front - the rationale being to avoid over cooling the oil, as the Mocal 13-row oil radiator kit that he fitted (obtained from Brown and Gammons) came without a thermostat. This method seems to work very well for him, with oil temperatures now down to the 130 level whereas before the needle would enter the red zone fairly readily.
Tools Required
Materials Required
Eduardo's installation instructions:
| 1. |
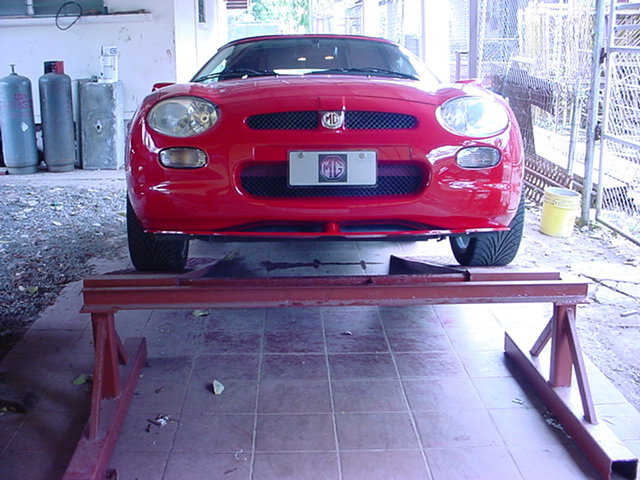 Raise
your “F” up onto a ramp Raise
your “F” up onto a ramp |
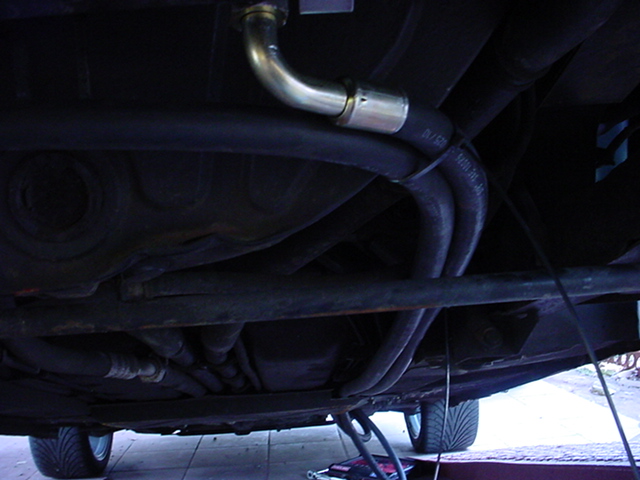
| 2. |
 Locate
the front mounted coolant radiator - the picture opposite shows the coolant
radiator fan coupled with the supplementary fan that is fitted when A/C is
specified. Locate
the front mounted coolant radiator - the picture opposite shows the coolant
radiator fan coupled with the supplementary fan that is fitted when A/C is
specified. |
| 3. |
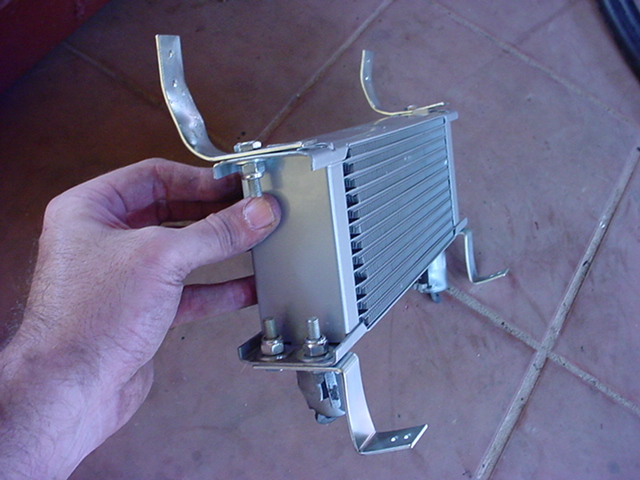 Install
the brackets (have to adapt it with some curves) on oil radiator so as to
mount the oil radiator in the position behind the main radiator. Install
the brackets (have to adapt it with some curves) on oil radiator so as to
mount the oil radiator in the position behind the main radiator. |
| 4. |
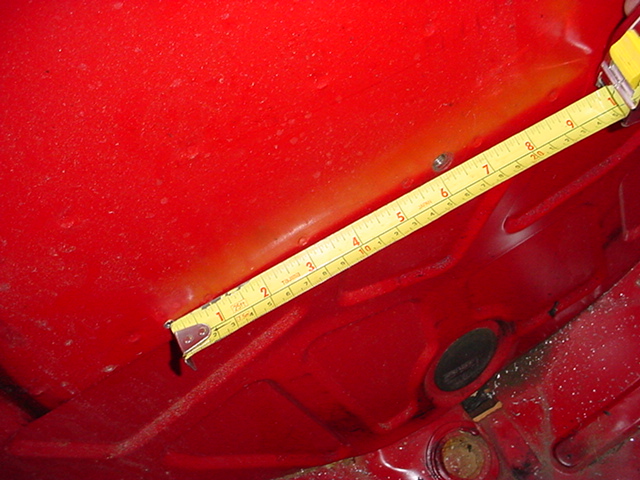 Open
2 holes (with drill), each ±15.5 cm to both sides of central axis of spare
wheel well Open
2 holes (with drill), each ±15.5 cm to both sides of central axis of spare
wheel well |
| 5. |
 Position
the oil radiator behind the cooling fan(s) [two if air conditioning is
installed on your car] Position
the oil radiator behind the cooling fan(s) [two if air conditioning is
installed on your car] |
| 6. |  rivet
upper brackets from inside the spare wheel well rivet
upper brackets from inside the spare wheel well |
| 7. |
 Open
2 more holes to fit radiator lower brackets Open
2 more holes to fit radiator lower brackets |
| 8. |  rivet
radiator lower brackets rivet
radiator lower brackets |
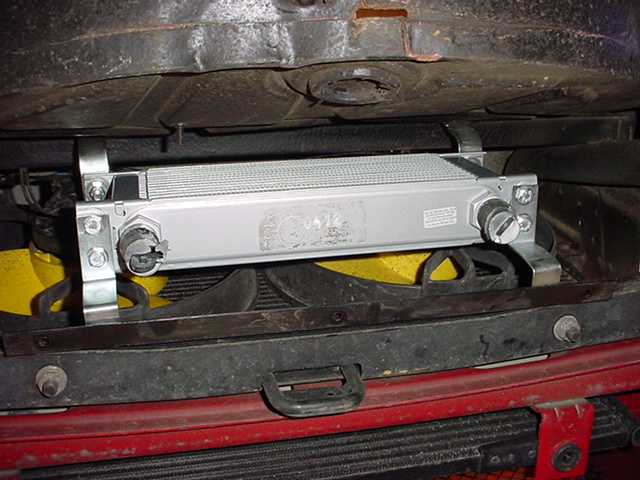
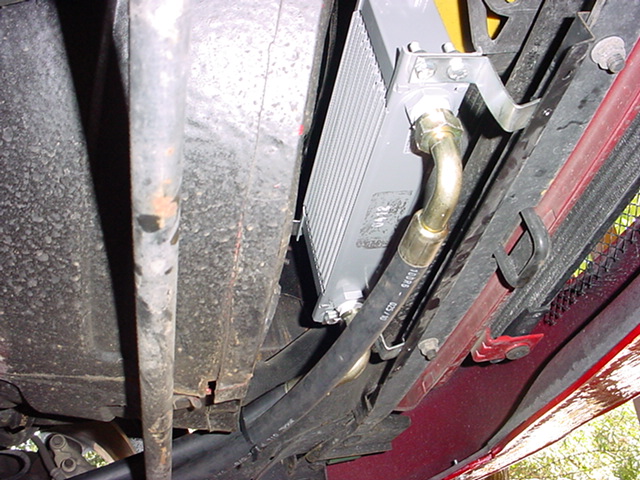
| 9. |
 Radiator
in place - between the radiator and the spare wheel well (visible to the
right and left of picture respectively) Radiator
in place - between the radiator and the spare wheel well (visible to the
right and left of picture respectively) |
| 10. |
 Apply
PTFE Teflon plumbing tape to both the radiator oil unions Apply
PTFE Teflon plumbing tape to both the radiator oil unions |
| 11. |
 Attach
both the oil hoses (the longest union fits to the left radiator connector) Attach
both the oil hoses (the longest union fits to the left radiator connector) |
| 12. |
  Now
remove the under tray that is located midway under the passenger
compartment. Now
remove the under tray that is located midway under the passenger
compartment. |
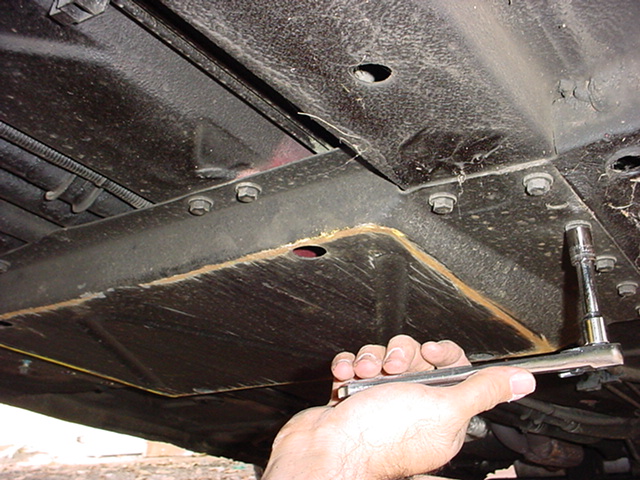
| 13. |
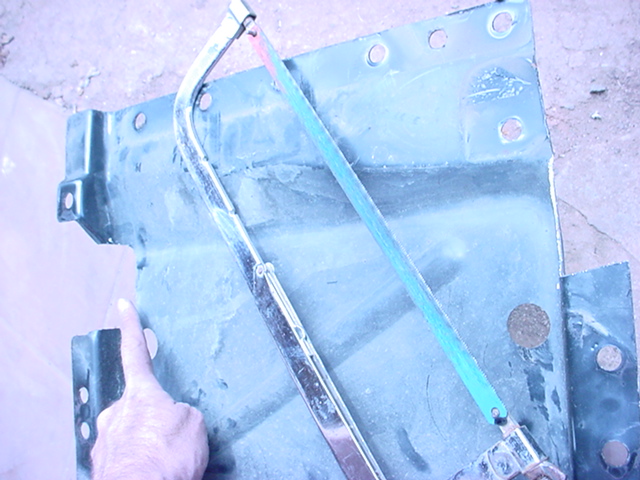  Now
the under tray needs to be modified in order to run the oil hoses from the
rear mounted engine to the front mounted oil cooler. Start by making a ± 2.5
cm x 4 cm hole... Now
the under tray needs to be modified in order to run the oil hoses from the
rear mounted engine to the front mounted oil cooler. Start by making a ± 2.5
cm x 4 cm hole... |
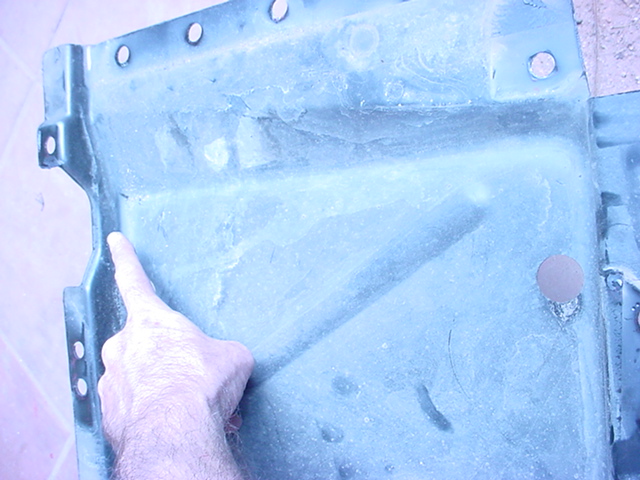
| 14. |
  And
again on the other side of the under tray... And
again on the other side of the under tray... |
| 15. |
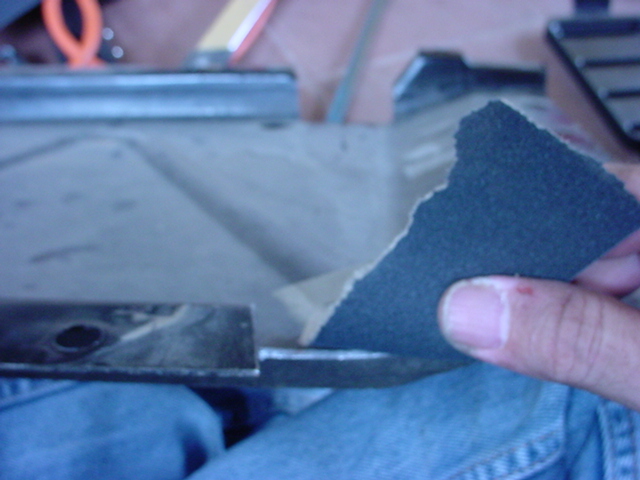  Now
remove any sharp edges that may damage the oil hoses. Now
remove any sharp edges that may damage the oil hoses. |
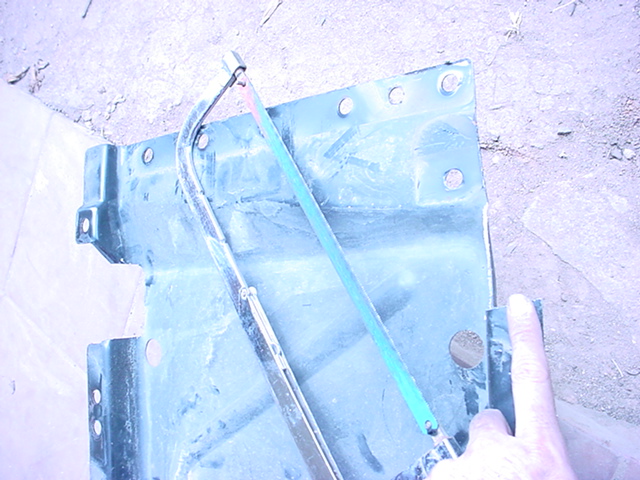
| 16. |
  Now
the oil cooling pipes can be run backward from the radiator to the engine
compartment. Now
the oil cooling pipes can be run backward from the radiator to the engine
compartment. |
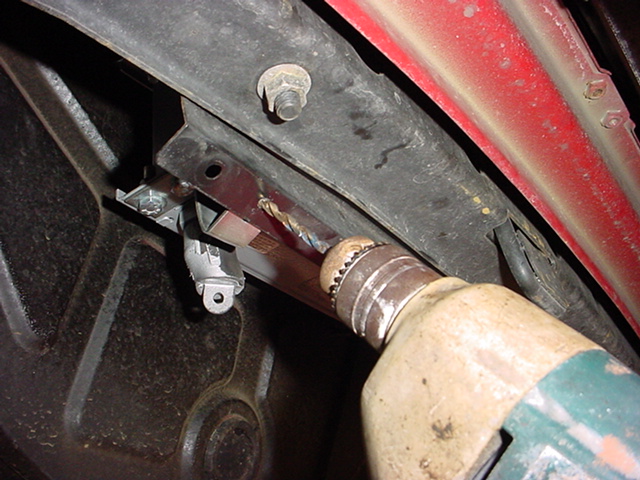
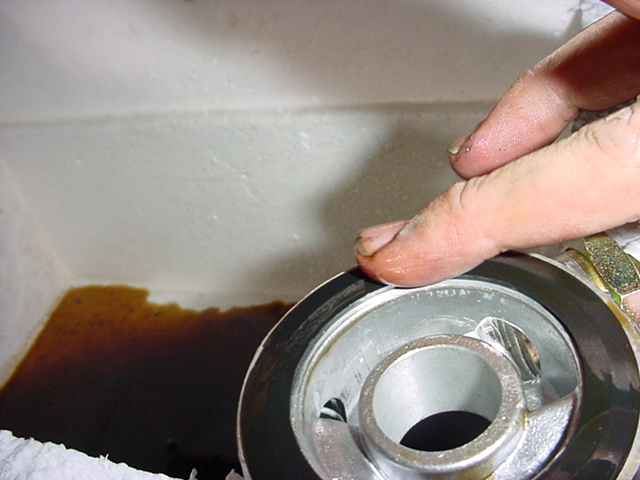
| 17. |
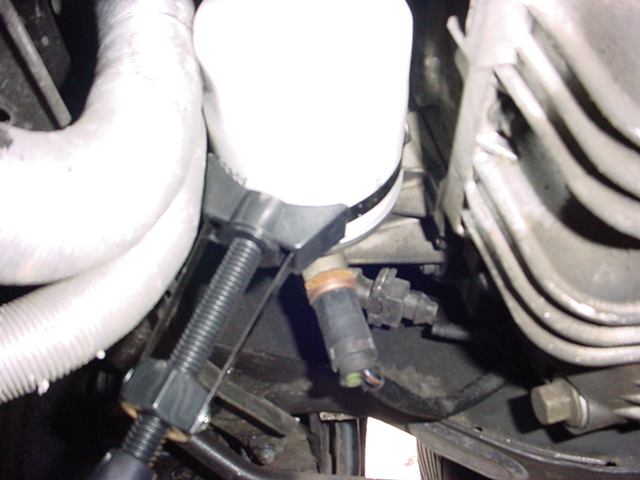 This
is how the standard oil filter appears. A strap type oil filter removal tool
can be seen attached to the oil filter ready for removing the filter. This
is how the standard oil filter appears. A strap type oil filter removal tool
can be seen attached to the oil filter ready for removing the filter. |
| 18. |
 Now
remove the oil filter (place a bowl under the filter to catch any split
oil). Now
remove the oil filter (place a bowl under the filter to catch any split
oil). |
| 19. |
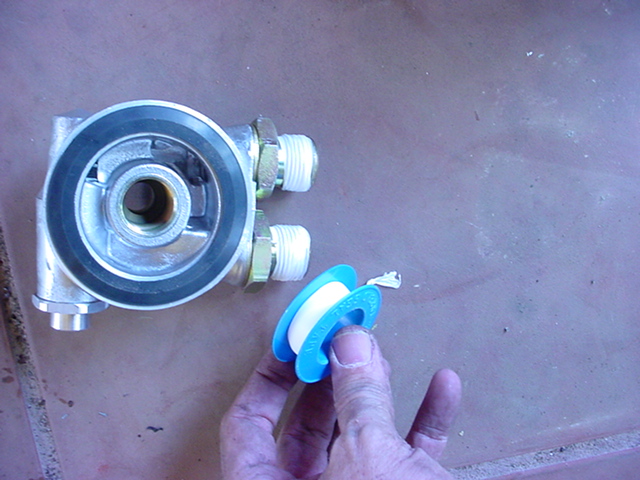 Moving
to the oil cooler/filter adapter 'sandwich', wrap the threads of the oil
unions with plumbers PTFE tape. Moving
to the oil cooler/filter adapter 'sandwich', wrap the threads of the oil
unions with plumbers PTFE tape. |
| 20. |
 Apply
some engine oil to the rubber sandwich seal. Apply
some engine oil to the rubber sandwich seal. |
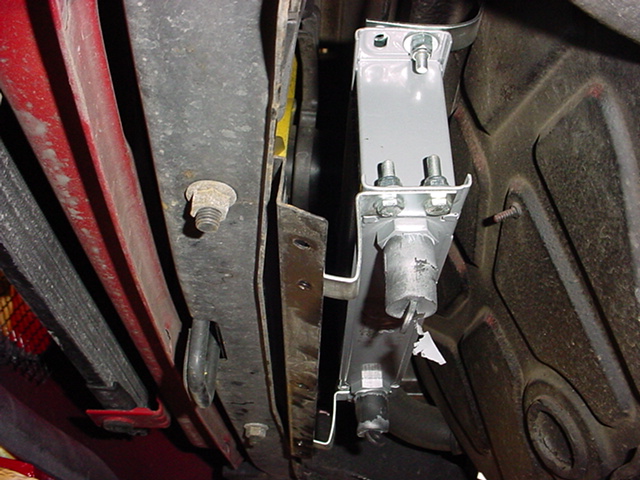
| 21. |
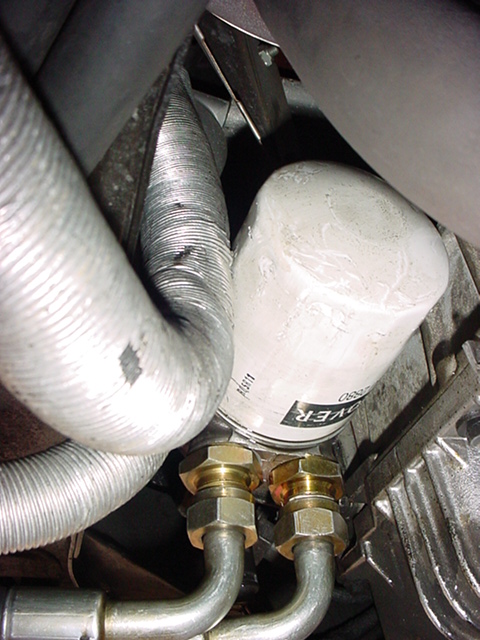 fit
sandwich with connections pointing downward fit
sandwich with connections pointing downward |
| 22. |
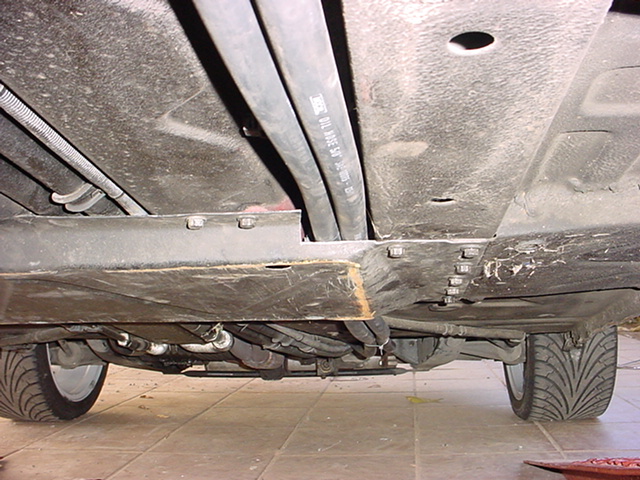 Run
the hoses and refit the under tray Run
the hoses and refit the under tray |
| 23. |
 Attach
the plastic fasteners Attach
the plastic fasteners |
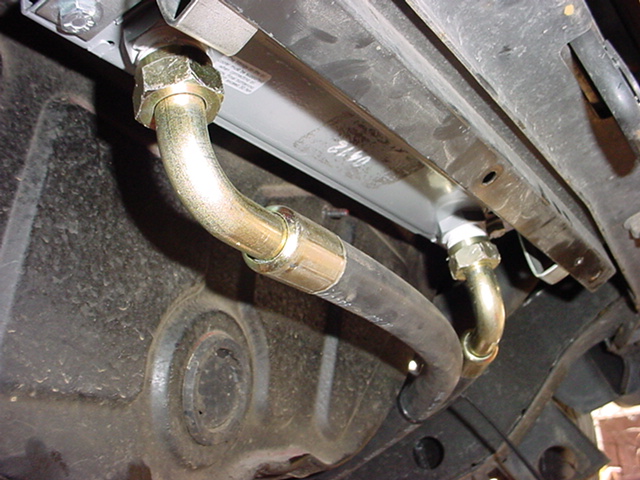
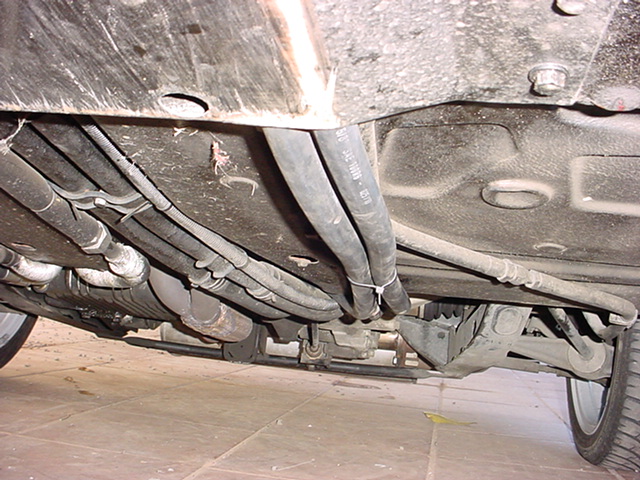
| 24. |
 Finally,
a view of the hoses as they pass through the under tray. Finally,
a view of the hoses as they pass through the under tray. |