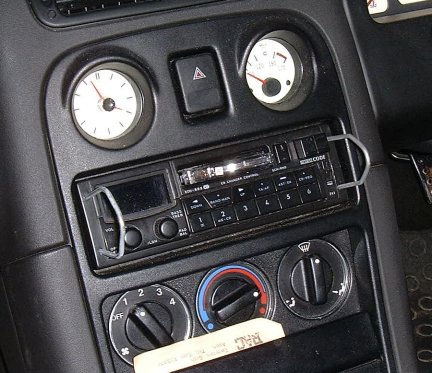
1. Remove the old stereo unit using the appropriate tool. OEM Philips stereos can be removed using the standard radio release tool available readily from Halfords (effectively two lengths of stiff bent wire!)
2. Disconnect the wiring harness and remove the old stereo’s chassis from the aperture.
3. Install the new stereo’s chassis.
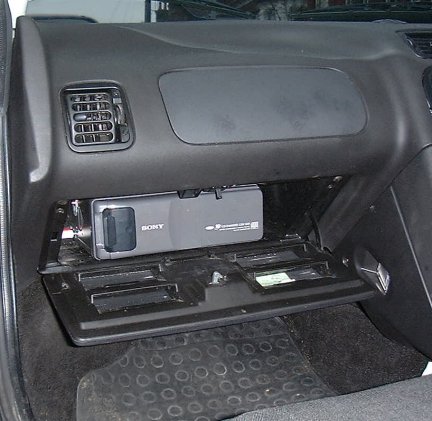
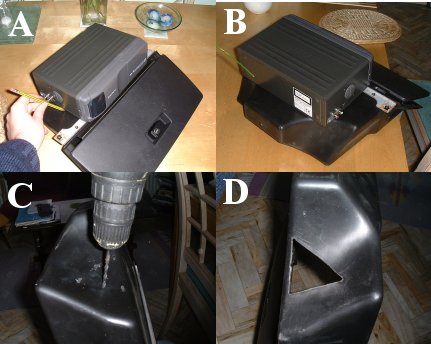
5. Measure up the autochanger. Some units are small enough not to require modification to the glovebox. If too large to fit comfortably inside (remember that the glove box door has to close!!!), then it may be necessary to cut four holes in the ‘box where it narrows to fit between the wheel arch and the heater ducts. The size of these holes is dependant upon the size of your autochanger, so I’ll not give dimensions here.
6. To cut these holes, it is easiest to drill multiple guide holes, and then cut ‘between the dots’. The plastic material is soft, so this is an easy job.
7. Once the holes are cut, position the autochanger inside the ‘box, and measure up the location brackets for the changer, so that it fits directly to the glove box. Also drill an access hole for the auto changer control and audio cables.
8. Mount the autochanger into the glove box, and secure the wiring. Return to the car, and re-install the glove box.
SUGGESTION: the glove box is not a particularly rigid item. You may want to consider fixing some stiffening material (angled aluminium or MDF) to the ceiling of the ‘box to ensure continued good fitting of the glove box lid.
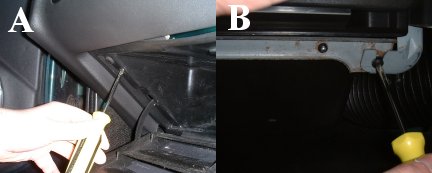
9. Now run the autochanger wires back to the stereo aperture.
10. Now prepare to fit the stereo head unit. Insert the wiring harness, and the autochanger control and audio cables. Also make sure that the aerial is connected. Now slide the new head unit into place.
11. Check to see if all the functions work- and job done!